
We had been talking about doing viscosity printing at Il Bisonte for a few weeks, so both Manuel and Vincenzo decided to teach us their own individual methods.
Both methods have some similarities, but they are still quite different.
Viscosity printing is a technique of printing multiple colours on the same plate and it means that you don't have to make multiple plates to get different colours.
It also means that you don't have the torment of registering multiple plates (and isn't there always one plate that doesn't quite line up!!).
This technique is based on the principle that a low viscosity ink (that is, one that is thin) and a high viscosity ink (a thick ink) will repel each other and the two colours will stay separate.
I found a great YouTube video made in 1977 by Bill Ritchie and it explains it really well. It is about 3/4 hour long, but it is amusing to see how everyone was dressed in 1977 (actually frightening is another word). I can remember everyone wearing those clothes and now they look so awful.
Here is the link - if it doesn't work just look for "Viscosity printing 1977 with Bill Ritchie".
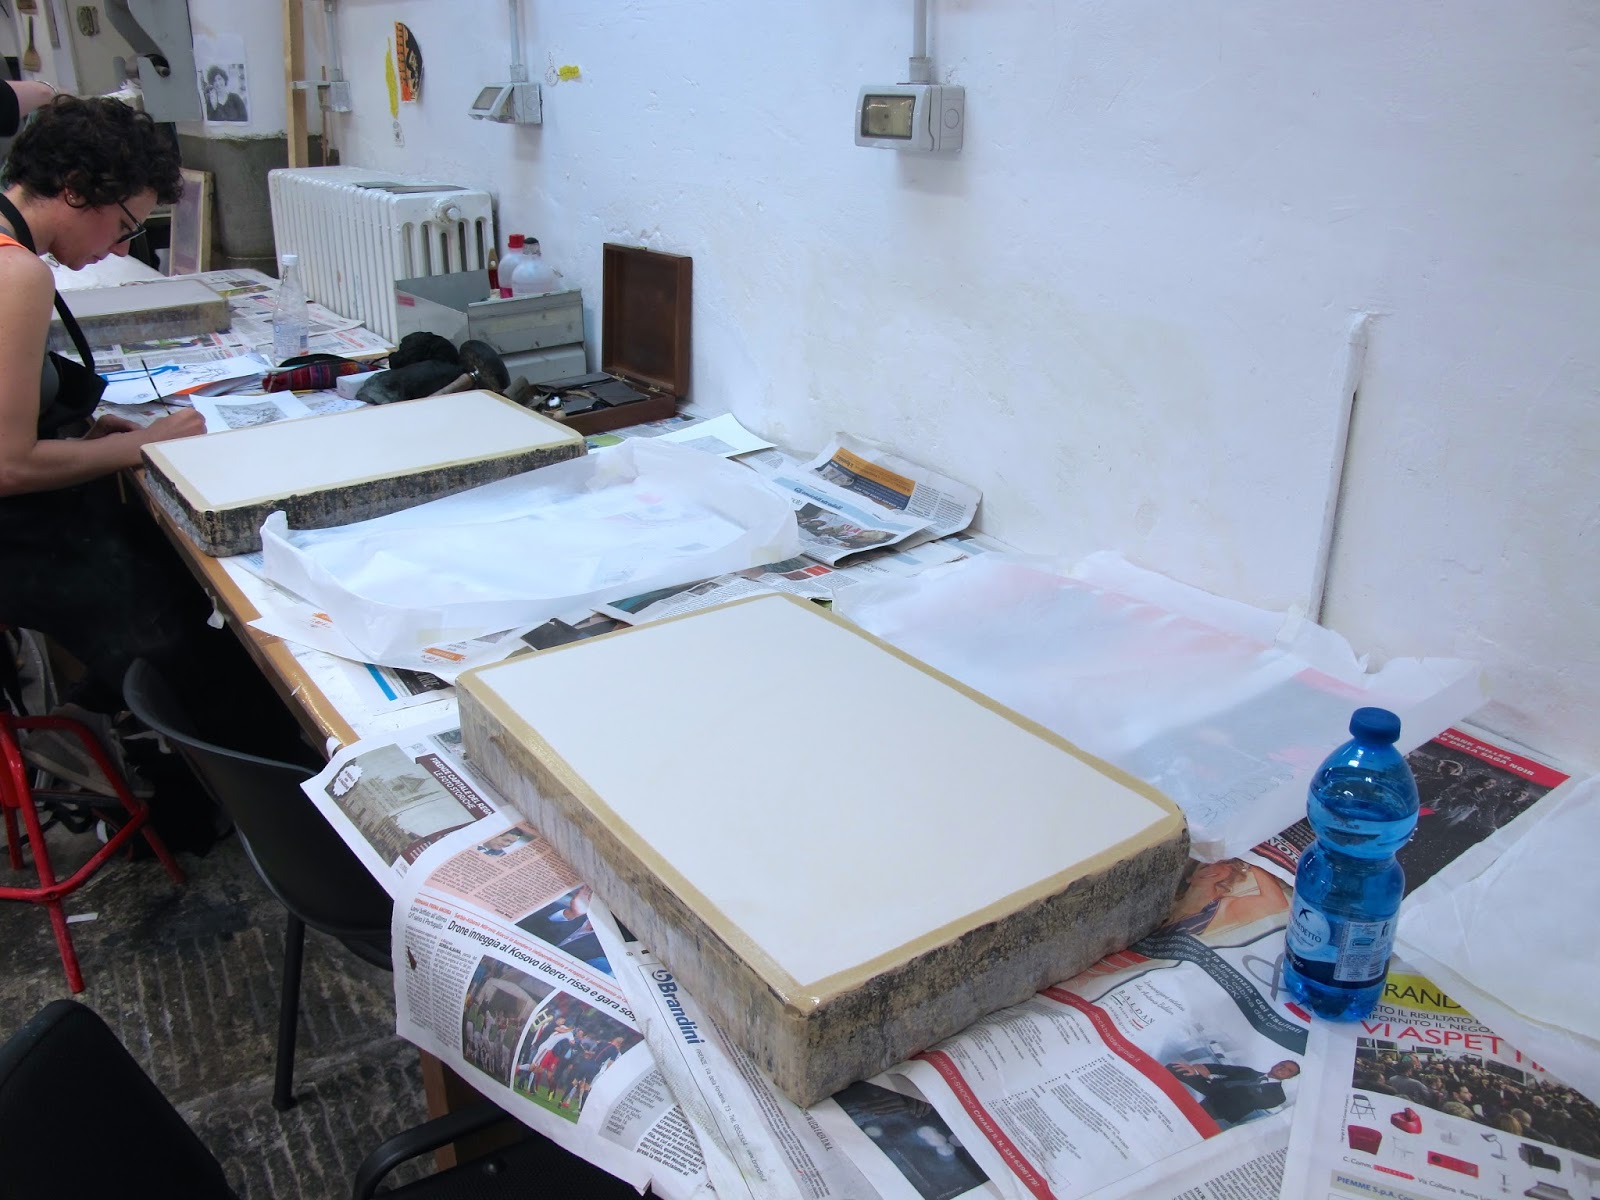
Manuel's method was quite difficult for me to understand, but I will try and explain it. He used three colours, whereas in the video Bill only uses two.
The most important thing is that you need to use a deeply etched plate - this won't work on a normal etching plate. The type of plate you use has to be etched for a couple of hours. The plate above was etched in 3 stages of 2 hours each in nitric acid @ 1:10 concentration.
Talc is used to thicken the ink (making it more viscous) and pure linseed oil is used to make the other ink thinner (less viscous).
We spread talc on the plate first and then Manuel had us ink the deeply etched parts of the plate with very thick ink (the talcs stops the ink settling into the grooves of the plate). The plate is then wiped with tarlatan. This thick ink should be the colour that you want to be in the deepest part of the plate - in the above print I used a brown colour.
The second colour was a green colour, this was less viscous than the brown as a little linseed oil was mixed with it to make it runny. I rolled this colour on using a medium roller (not too hard, not too soft!)
For the third colour (blue), I used a soft roller and very runny ink. You need to use quite hard pressure for this roller.
Vincenzo's technique was similar but not as complicated, not so many inks and rollers!
In Manuel's technique, he uses an un-inked roller in between the first and second colour to remove some of the ink - but this looked very time consuming, but I suppose it depends on the plate too.
The above print was the only good one that I got! I didn't clean the plate enough after inking up with the brown colour and it left a horrible brown stain. I must admit that I was rushing a bit as it was getting late. I will try again after we finish lithography next week.
I think Bill Ritchie explained it much better in his video, so if you didn't watch it, I will try and explain the main points;
- High viscosity - use talc (more sticky)
- Low viscosity -use linseed oil (more runny)
- To test if inks are right together - roll up a bit of low viscosity ink and then roll over some high viscosity ink crossways. If they are good, the ink should not separate. If they mingle, then you need to stiffen one up and loosen the other one as well.
- Low viscosity rides on the highest places of the plate - use a hard roller . Bill says he remembers this by thinking "hard and high"! If you have inked the plate like an intaglio print, you can put a couple of rolls of this on the plate to make sure the ink is covering evenly.
- Soft roller, high viscosity ink - rides on the lowest places of the plate, harder to roll up because it's sticky.
- Only roll over the plate once with the soft roller or you will contaminate the ink, use pressure on the roller to push ink down into plate.
How I made the plate
I made the plate of a seahorse (top of page), but I didn't actually understand what I was doing, I just did as I was told!
To fully understand the process, I decided to do another plate and actually work out how to do it (with a little bit of help).
With the first plate, I used bitumen as the stop out and I had to paint it on really thickly to prevent foul bite. It didn't prevent foul bite that well, so the plate looks a little rough.
The first step was to do a line etching and left it in the nitric for about 20 minutes (1:20).
I then cleaned the plate.
I then re-applied the bitumen and also stopped out parts of the plate. The plate then went into the acid for 2 hours. I then took it out, reapplied more bitumen, it spent another 2 hours in the acid, I applied more bitumen and then it had another hour in the acid. In between etches, I made a print just using black ink and did also an impression on plain paper to check on how it was going.


I won't make you look at the dreadful prints I made when I didn't clean the plate enough!
This week everyone has been grinding their stones for Lithografia next week, so I spent about three hours on Wednesday (Monday and Tuesday were holidays) grinding my stone and then had to find something to do for the rest of the week! More about the stone grinding later!
I decided that I really liked the embossing of the seahorse and I wanted to try another plate. I decided to do a shell design. The way that Antonio does his deeply etched plates is by using the contact plastic sheet that we use to cover the back of our plates to protect them from the acid.
So this is how I made the shell plate;
 |
| First I did the drawing of the shell |
 |
| I covered the plate which has already had the line etching done with plastic contact and started cutting out the first bits of plastic with a small hobby knife |
 |
| After the first 2 hours in the nitric acid (1:10) |
 |
| I continued to cut bits of the plastic off and put it in acid for further 2 hours |
 |
| The plate after the plastic was removed - altogether it was in the acid for 3 hours |
 |
| The impression on the plate - the paper is too thin, so I have thicker paper for the edition I will do. |
Lithografia
Our last seminar starts next week - Lithografia. After the seminar we are finished till September!
I have never done Lithografia before and I can see why! It's really hard work!
It has been very hot this last 2 weeks. Today it is 33 celsius, (feels like 36) and it is really humid. Every day when we arrive at the studio we greet each other with "CALDO!!!!!"
Luckily the studio is not too hot, but the courtyard is really hot. It was a public holiday on Tuesday (Republic Day) but we had Monday off as well (Australia is not the only land of the long weekend).
On Wednesday. Manuel had the stones out and all the equipment ready for us to start grinding them. We won't be printing them at Il Bisonte as they have done in the past because the lithography presses are getting too old and temperamental.
We are going to a studio down the road and they will be printed there, but we do everything else at Il Bisonte (preparing the stones, drawing on the stones, etching the stones). I have a feeling we will be carrying them down the road on our backs too!
The first thing we had to do was file the edges of the stone.
We then cleaned off the old ink with a pumice stone.
We then started grinding the stone with carborundum grit, 4 times with 80 grit, 3 times with 120 grit and then 4 times with 220 grit.
A smaller stone is used to grind the plates. They are ground together in a circular motion with carborundum grit and water until the grit becomes soapy, it is then washed off and you start again.
I can't tell you how much I suffered, it was hot, wet and the table was too low and my back was killing me! It took about 3 hours to finish and I was not the only whinger!!
We now have a group called "Gruppo del Lamento" (The Whingers Group).
 |
| Manuel showing us how to file the edges of the stones |

 |
| Using the pumice to clean off the ink - this is Giulio working hard |
 |
| Starting the first grind with carborundum |

 |
| Manuel demonstrating how a lithography press works |
 |
| My finished stone ready for next week |
I have found a really good youTube clip about Lithography and it explains it much better then I could. It's about 7 minutes long, so not too bad!
Fascinating stuff. I never appreciated the work going into any of these types of prints before.
ReplyDelete